How to: Split firewood like a lumberjack
Splitting wood is essential when preparing a fire. If you split wood long before you’ll need it, it will dry quicker and burn better. Especially oak, elm and birch (more dense wood types) benefit from splitting long before use.
By splitting wood, you not only help the wood dry faster. The smaller, lighter pieces are also easier to manage and are more likely to fit in your Outdooroven or fireplace right away. If you’ve got your preparation down, lighting the fire will take less time.
Once it’s time to start a fire the split wood ignites a lot quicker thanks to its open sides. Round logs take a lot longer to combust due to the protective bark surrounding them.
Necessities for splitting wood:
- Firewood (preferably seasoned/dried)
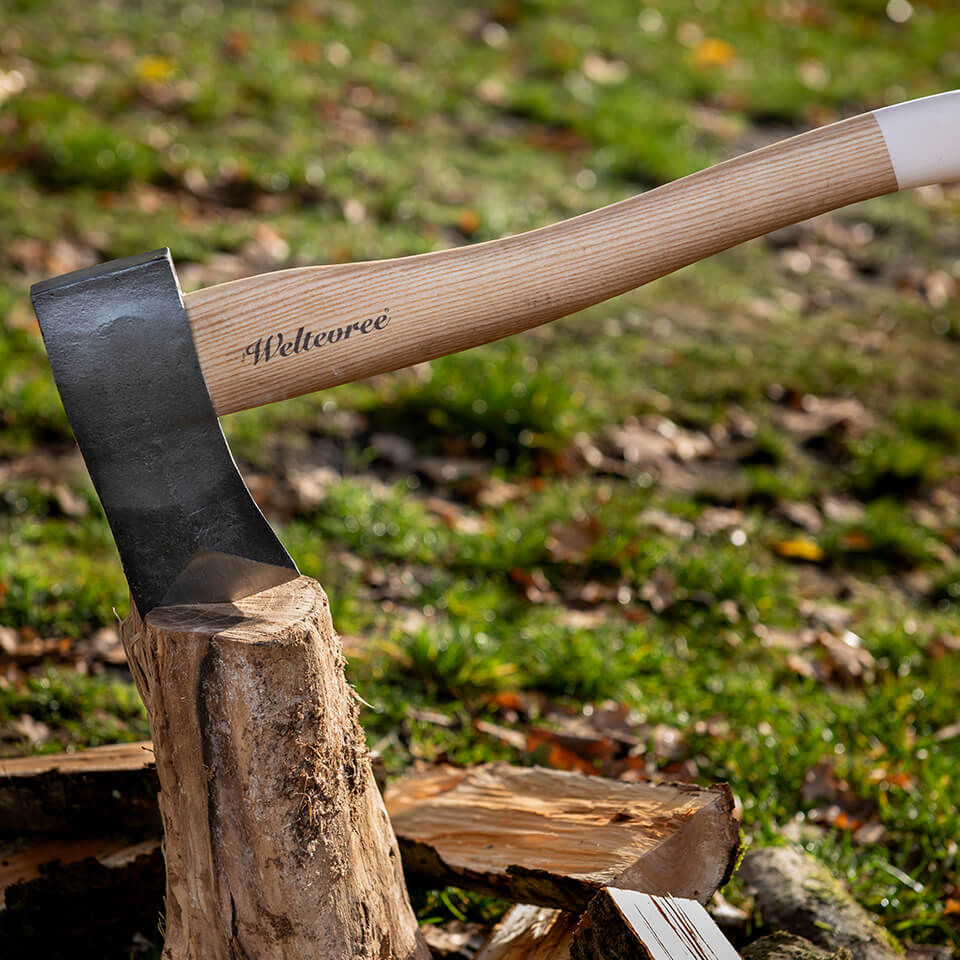
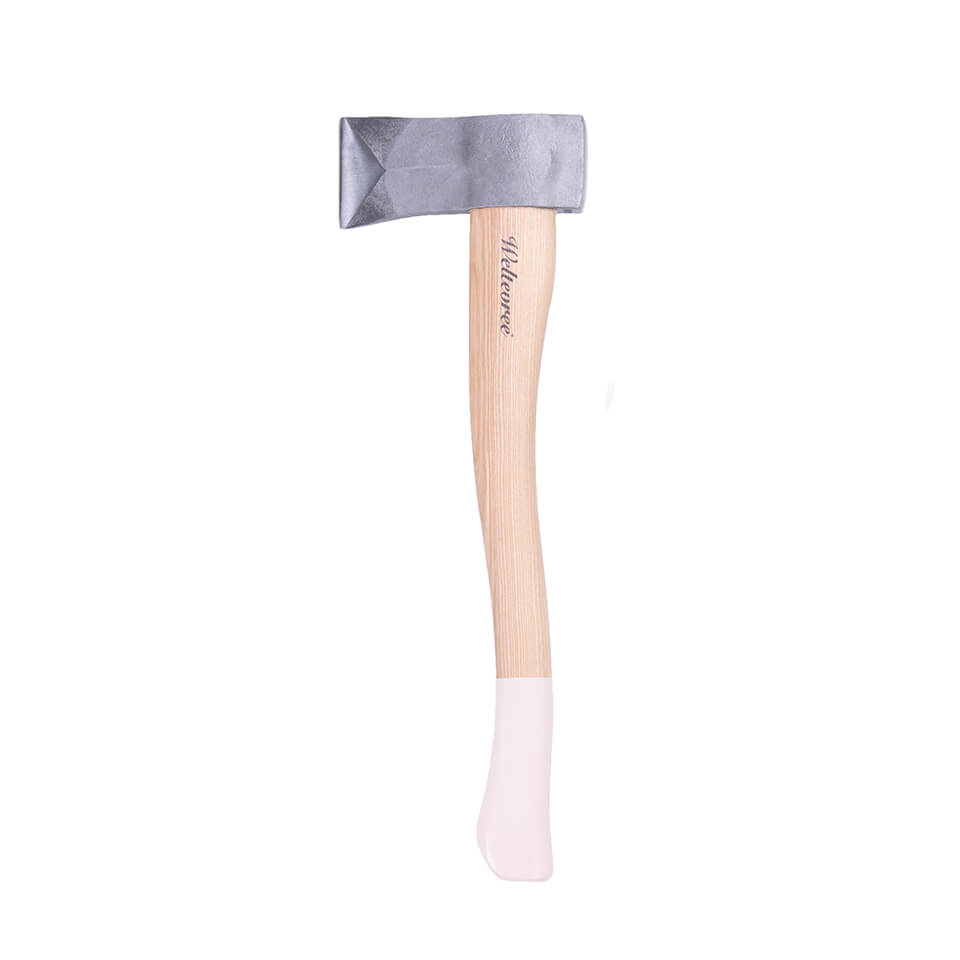
- Splitting ax
- Chopping block or appropriate flat surface
- Protective eyewear Safety or working gloves
- Protective footwear
Step 1. Gather your firewood. If it’s still fresh, it will be harder to split. If you leave it the wood to dry for a couple months first, the job will be a lot easier.
Don’t forget to put on protective eyewear and footwear to protect your eyes and feet from flying wood chips. Gloves should be worn only if they don’t limit your grip on the ax’ handle.
Step 2. Place a log on its end, either on the ground or on top of a chopping block. If you work from the ground, make sure there are no rocks underneath the log. They will dull your ax if you accidentally hit them.
Step 3. Find lines in the wood that come from the core, so called radius cracks. These cracks are very useful for splitting. Follow the lines towards the bark and aim for the edges of the log. Don’t aim at the middle.
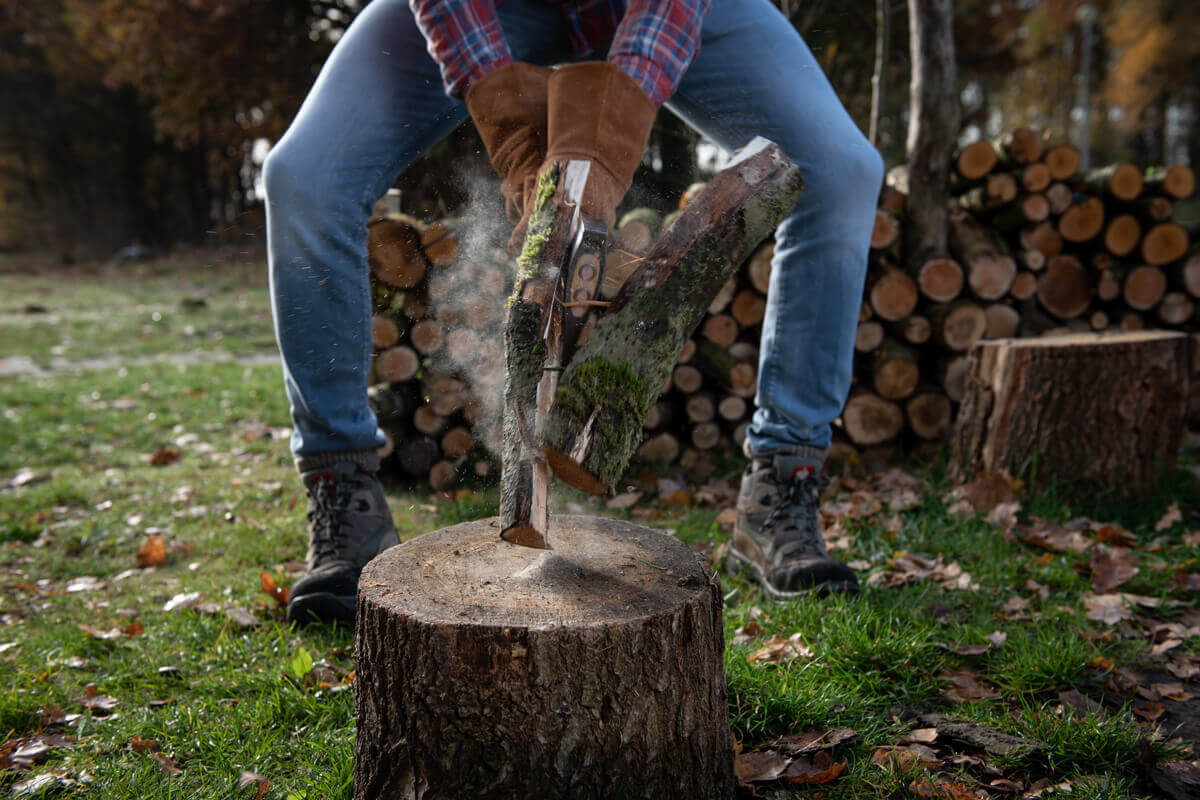
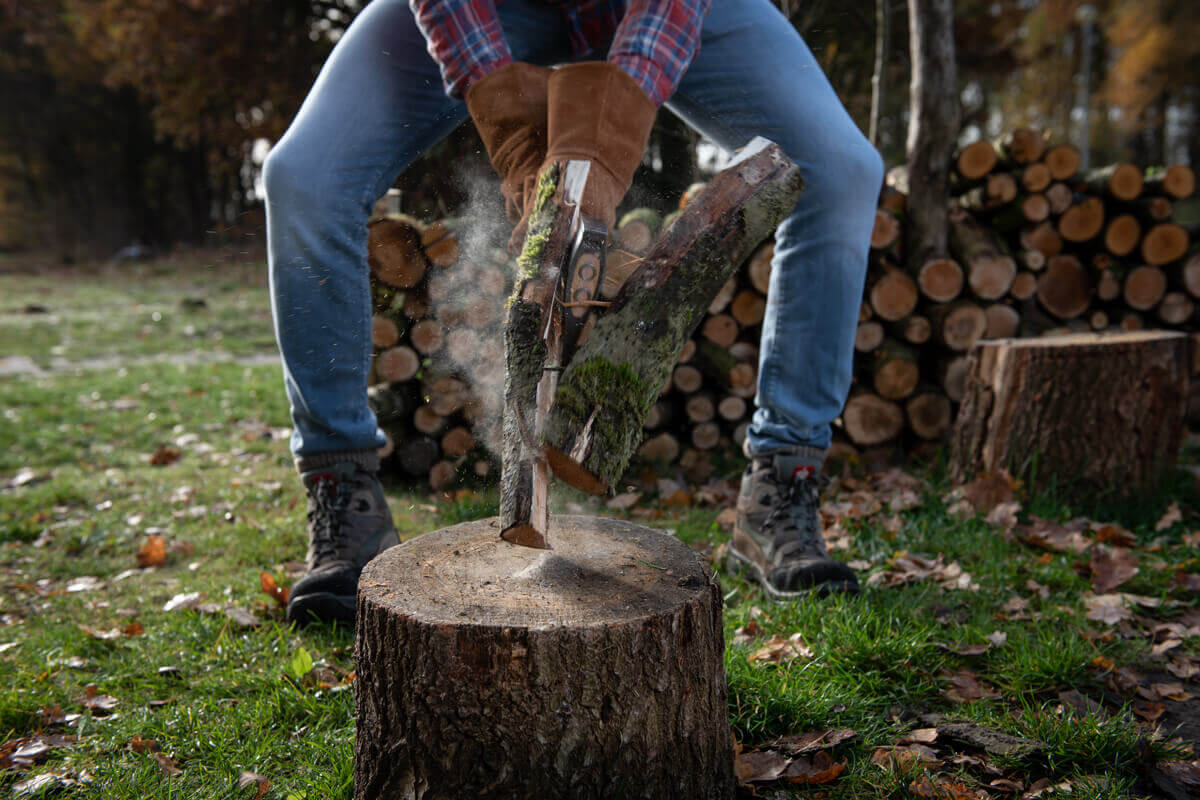
Step 4. Take the right stance. Put your feet a little further than hip width apart and parallel to each other. Check your distance and touch the target with the ax. Hold the ax at the end of the handle with your dominant hand, place the other hand closer to the axe head about halfway up the handle.
Step 5. It’s time to take a swing at your target. Lift the ax, above and slightly past your head. Then swing it towards your target and land it forcefully on the log. Your upper hand should push it for speed and on the downward movement it should slide down slightly to meet your other hand at the end of the handle when impact is close.
Tip: If log has a knot, stay clear from it. It’s better to aim next to the knot and split the wood from there.
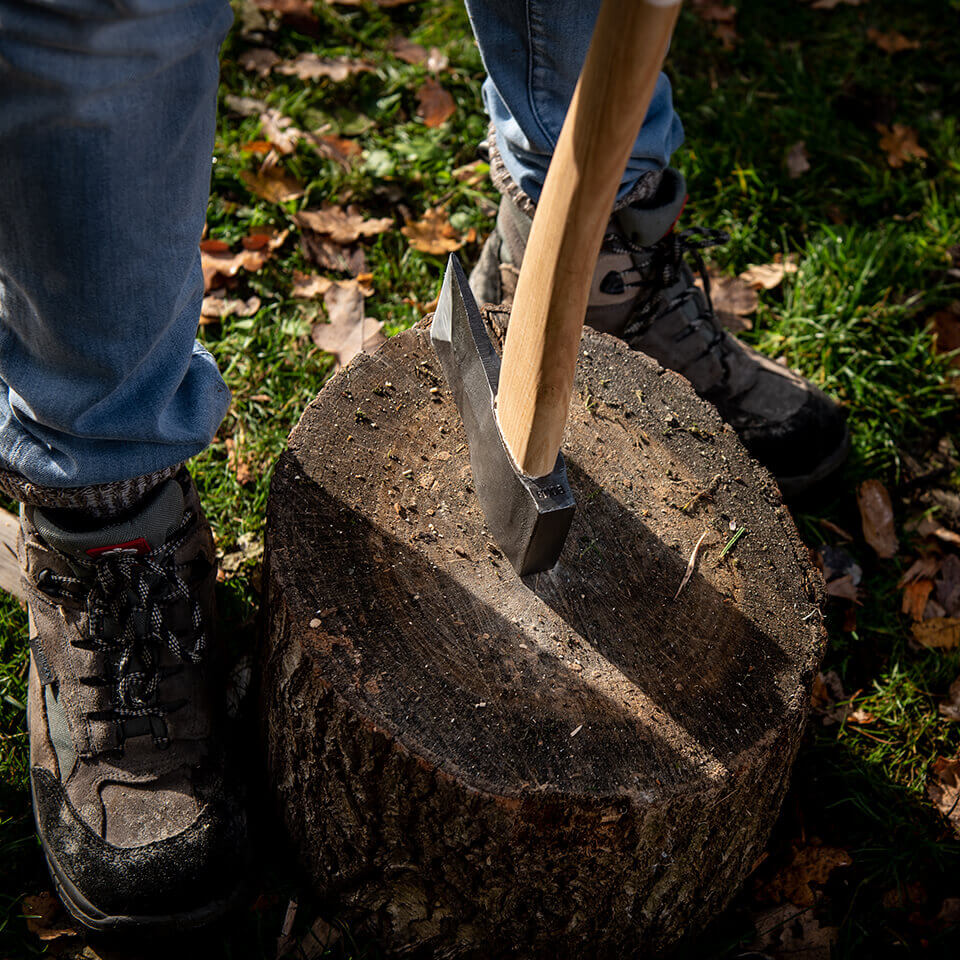
Step 6. Once you’ve split the initial log, place each halve back on the cutting block. You can split these halves in smaller pieces.
Tip: If you are still mastering the proper splitting technique, it may occur that your ax gets stuck in the wood. Try picking up the ax with the log attached, lay the log on the floor and step on it. If it’s stuck deep into the wood, force the ax down with your hands while keeping the log in place with your foot. If it’s not in too deep, try pulling the ax out while keeping the log in place with your foot. Don’t wiggle it sideways, this can damage the ax.
Step 7. Don’t forget to stack and store your split wood in a dry, clean place.
