How to: Light a fire using the Swiss method
Forget what you know about building fires: the Swiss method is here to stir up the fire making traditions. This method is a result of Swiss research on how to build a more environmentally friendly fire. It is energy efficient and leads to a cleaner burn with less smoke and better combustion. The Swiss method is not only recommended by researchers, also survivalists, fire departments and environment organizations highly recommend it. Find out how to build a Swiss fire following the steps below.
Self-feeding fire, upside-down fire, Swiss method, top-down lighting method or the new way of stoking: there are many names to this method. As this diversity of names shows: it is a fire that is build in the opposite way than traditional fires and it is self-feeding, causing it to burn for a long time without the kindler having to add new logs constantly.
Step-by-step guide: Swiss method
Step 1. Split firewood if necessary. For this method you’ll need several sizes of firewood: medium sized or larger logs, smaller logs that will ignite fast, kindling of 3 x 3 cm and smaller dry sticks and kindling. Or use the K-LUMET firestarter.
Step 2. Build your fire by arranging the biggest logs first. Lay them on the bottom of the fireplace, parallel to each other and form a square. Leave plenty of room for oxygen to reach the wood and for the firelighters that you’ll place in the middle later. Don’t spread the wood too much: it has to be a sturdy construction, so the fire can keep going.
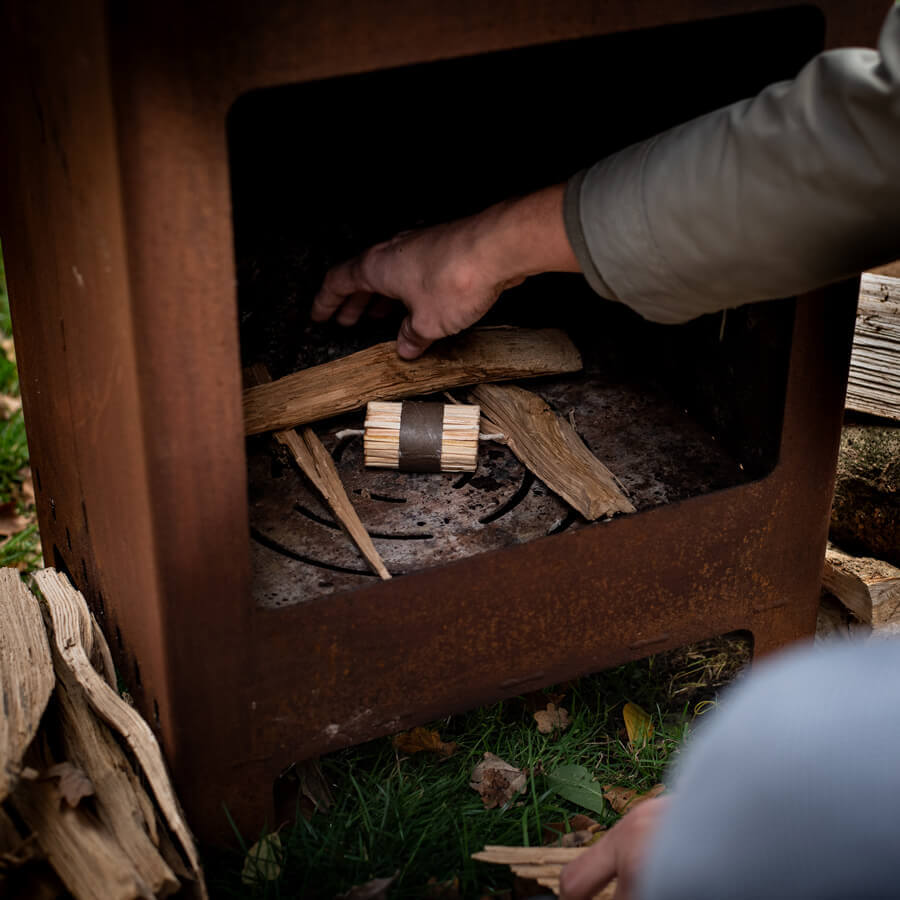
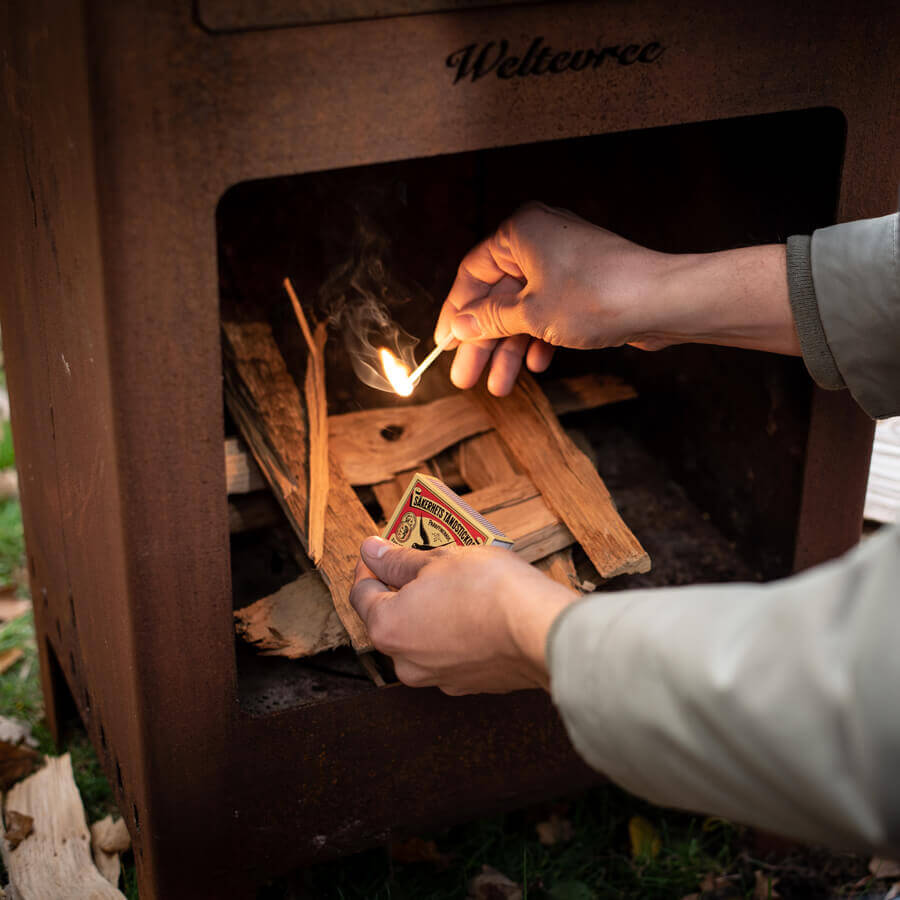
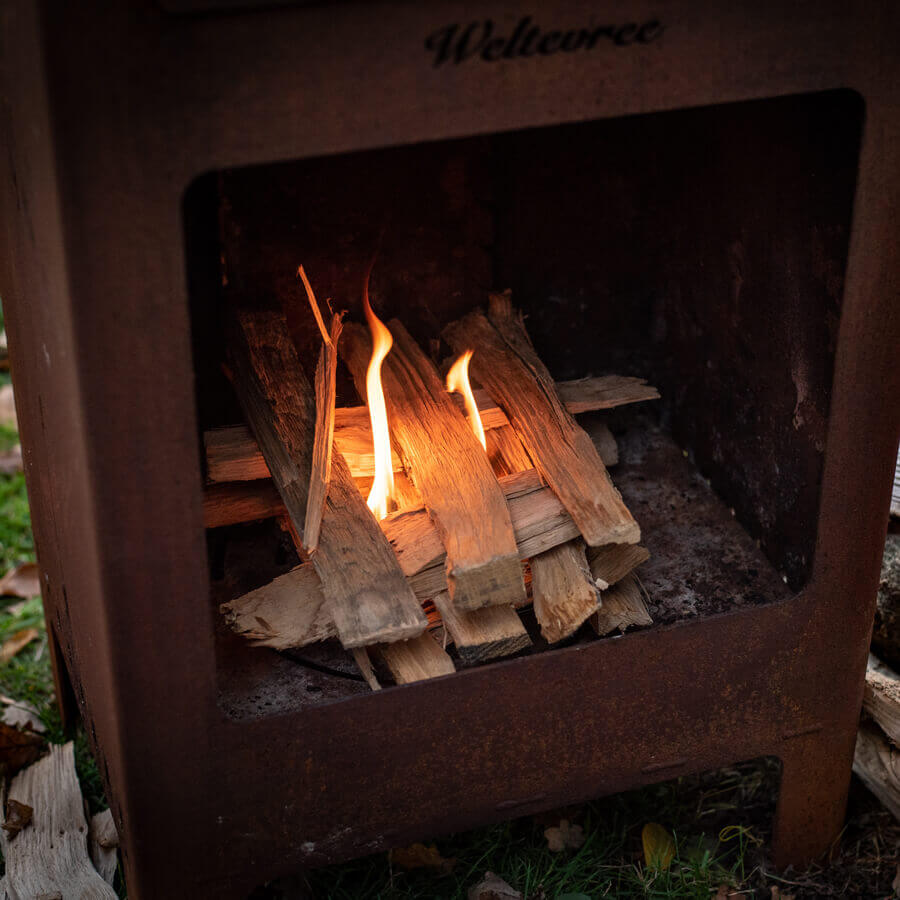
Step 3. Build up layer two with the slightly smaller logs. They should be placed perpendicular to the bottom layer. Again, leave enough space for oxygen to flow through and for the firelighters to be placed in the middle. Keep building ’till there’s no more small logs left.
Step 4. Top off with the kindling, cross-hatching them in a square shape.
Step 5. Place tinder or a kindling agent in between the kindling. Whatever tinder you use, it needs to be small enough to be easily ignited with a firestarter, lighter or match.
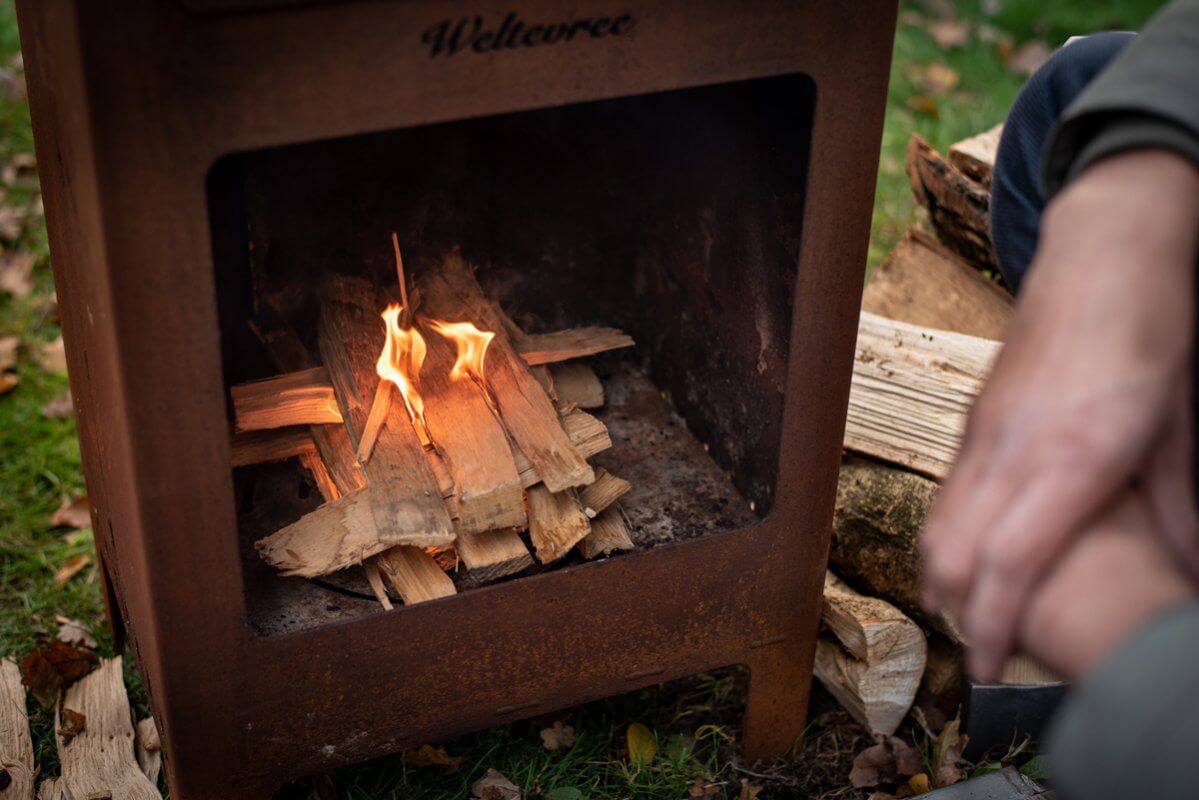
Step 6. Light your fire with a match or lighter and see how the top layers start to combust. You’ll notice that the fragile top layers combust quite quickly with very little smoke development.
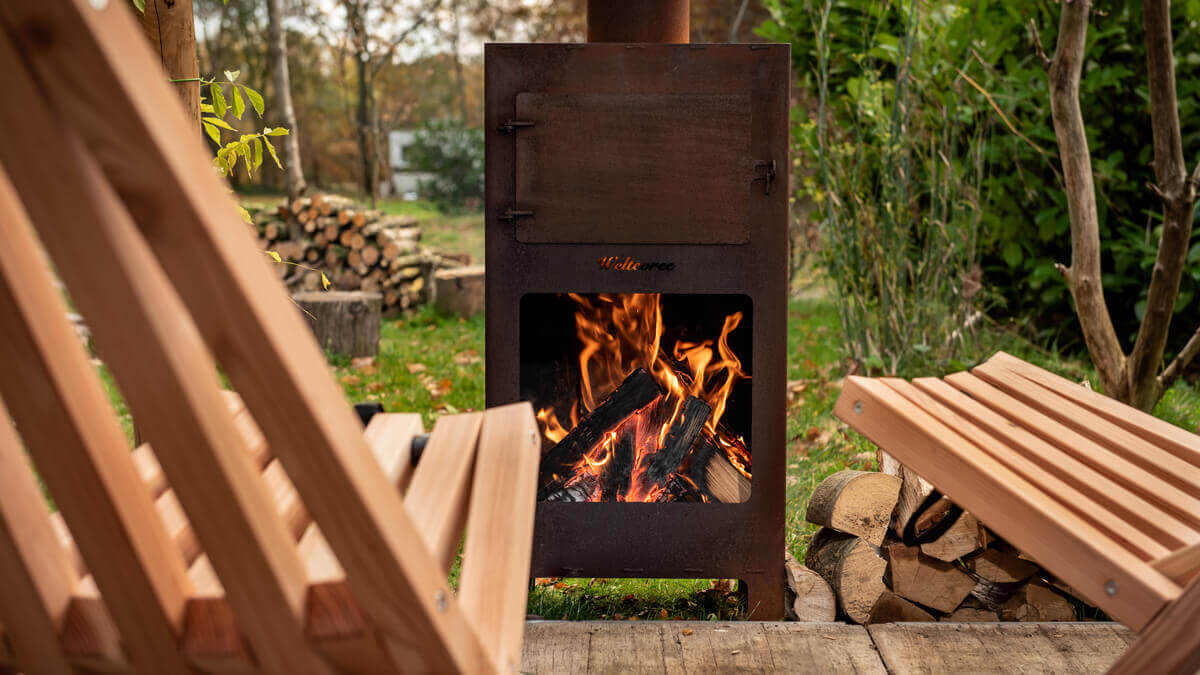
Step 7. This step should follow at least an hour after you’ve started the fire. After the top layers have properly combusted, they will turn into coal, transferring heat to the lower layers which will subsequently combust. Until the fire has reached the bottom layer and burnt the bigger logs completely, there’s no need to add extra wood. You can add one log or a layer of logs to keep the fire going even longer. The burning ashes will ignite the logs.
Step 8. Do you no longer need the fire? Let it slowly cool down by not adding new wood. If you are in a rush, cover the fire with sand, don’t cut off the oxygen supply or add water to put out the fire.
Related products

